
I used to think my cooler was the problem. I packed 20 pounds of ice for a three-night trip in the Rockies and by late afternoon on day two, I was draining meltwater and eating lukewarm string cheese. Then I watched a camp host at Mueller State Park pull cold food out of a beat-up Coleman cooler on day four. Same outdoor temps, similar ice load, same summer heat. The difference was not the cooler. It was everything he did before and during the trip that I was completely skipping. That conversation changed the way I pack for every trip I have taken since.
I now run the Coleman Classic 62qt on every camping trip from May through October. The cooler is solid and genuinely affordable, but the insulation alone does not save you. It is the five habits around it that determine whether your ice lasts a day or five solid days in summer temperatures. I have tested these steps enough times to know which ones matter most, and I will tell you honestly if you can skip any of them without much consequence. For the most part, you cannot.
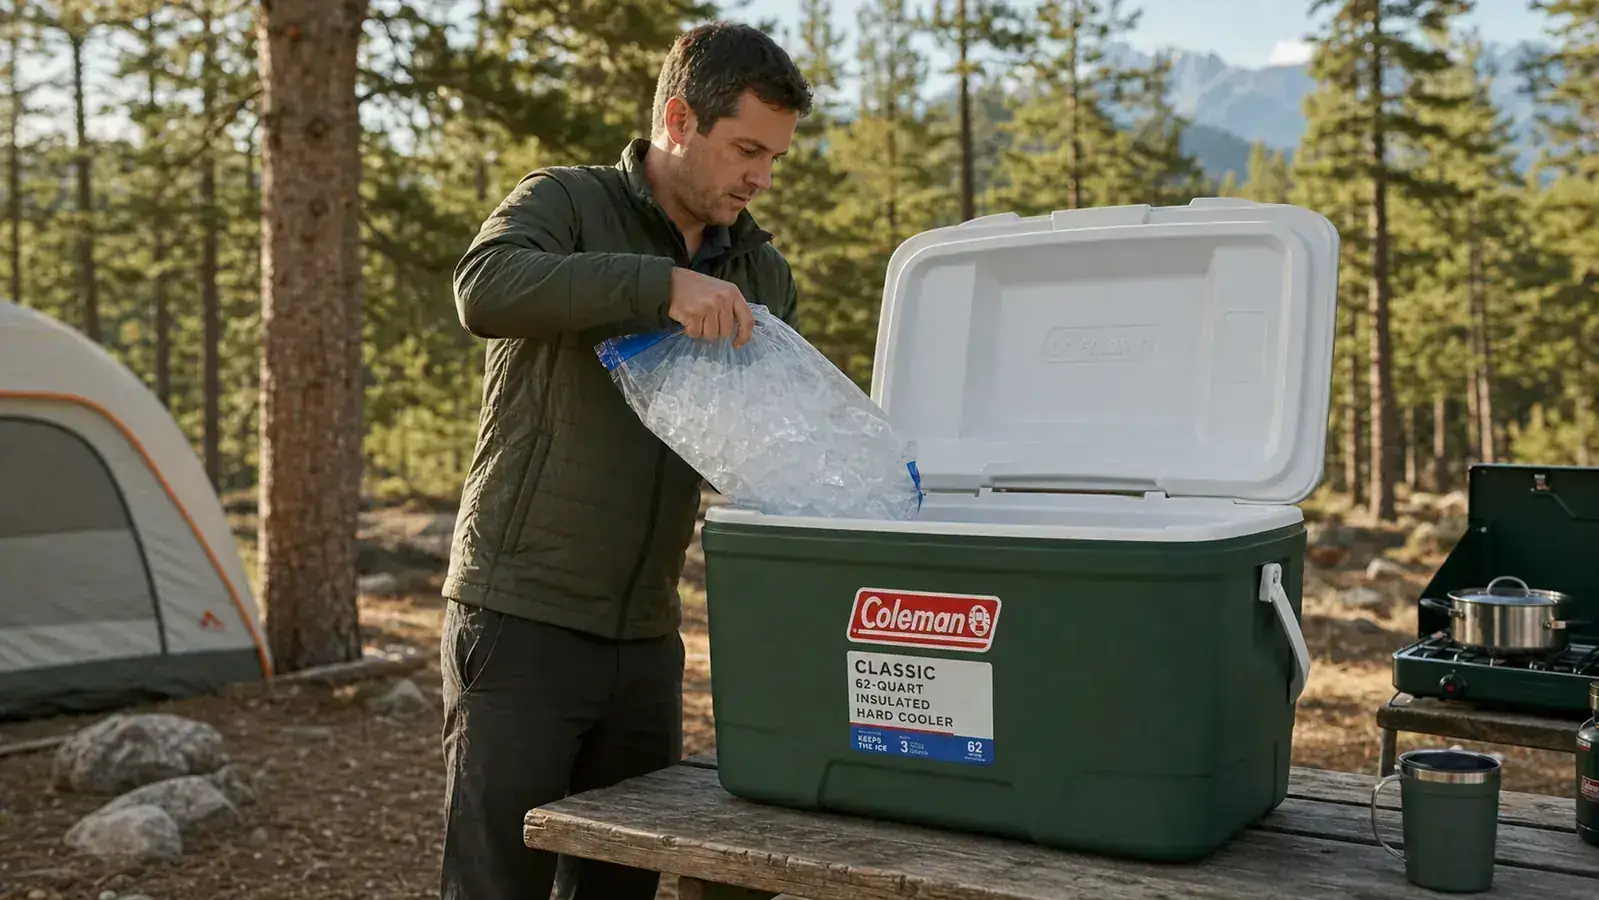
Your ice is melting faster than it should. The Coleman Classic 62qt gives you a better-insulated starting point than most coolers at this price.
The Coleman Classic 62qt is what Marcus uses on every car camping trip. It holds 62 quarts, fits a week of food for two people, and is currently priced around what you would expect to spend on a mid-range cooler. Check today's price on Amazon before your next trip so you are not stuck buying the expensive version at a camp store.
Amazon Check Today's Price on Amazon →Step 1: Pre-Chill the Cooler the Night Before
A warm cooler is an ice-eating machine. When you pack a room-temperature cooler straight off the garage shelf, your ice spends the first four to six hours just pulling down the temperature of the plastic walls and insulation foam before it starts keeping your food cold. That is a significant waste, especially if you are only out for a weekend trip.
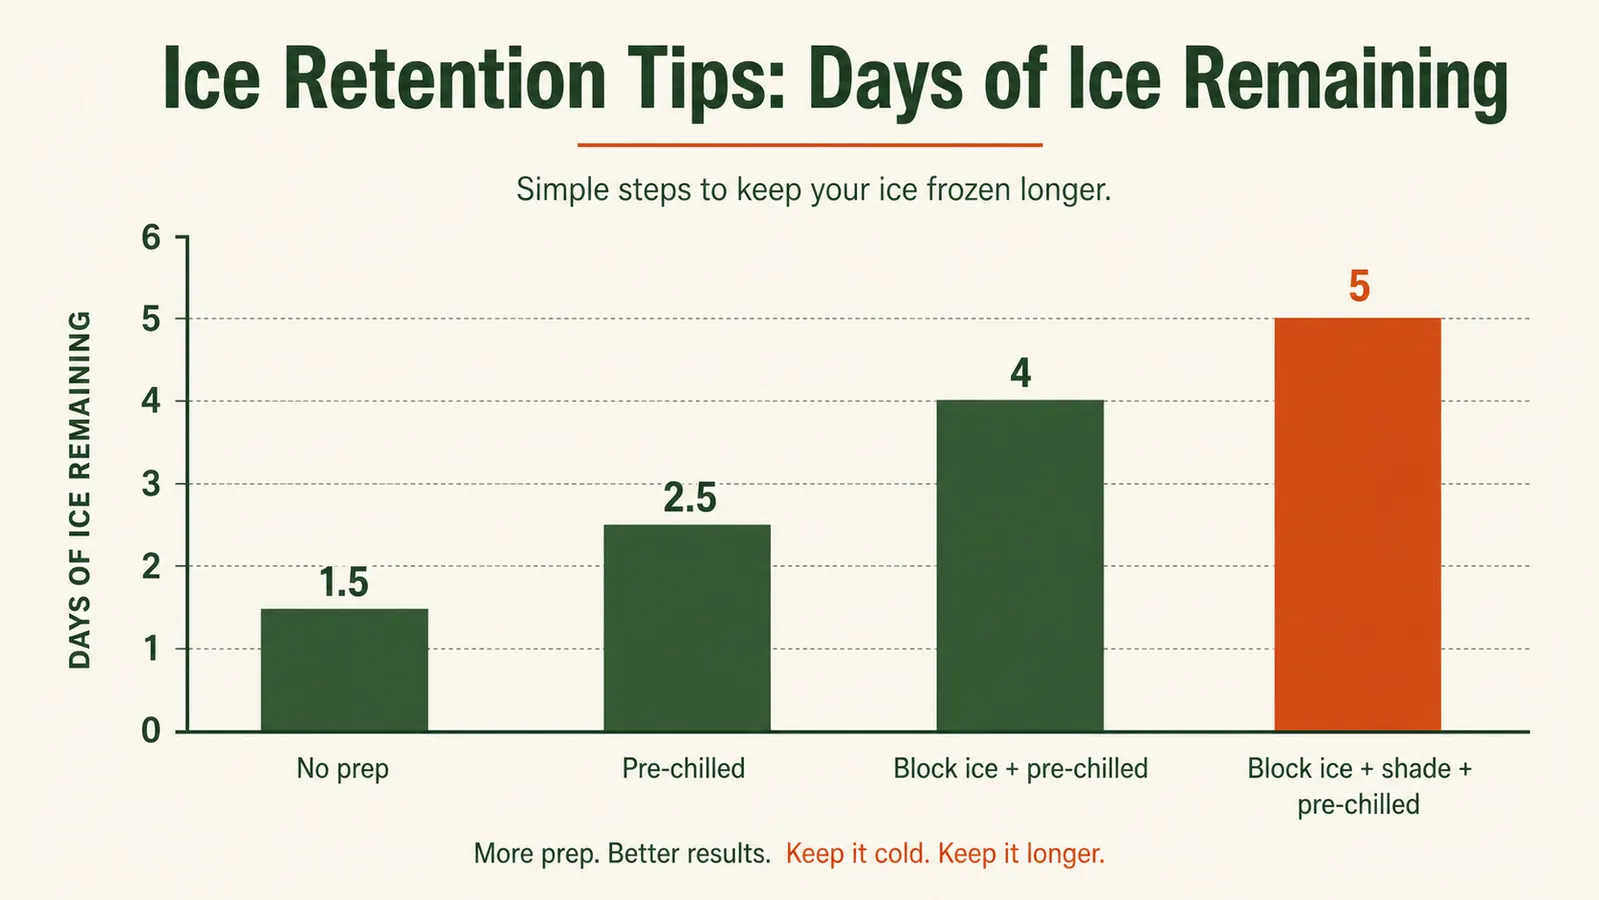
The night before I leave, I fill the Coleman Classic with a sacrificial bag of cheap ice from a gas station, close the lid, and let it sit in the garage overnight. In the morning I dump that meltwater, wipe the inside dry with a towel, and pack my actual food ice. This one habit alone buys me an extra 12 to 18 hours of ice life on a four-day trip. It costs maybe two dollars of throwaway ice and takes about 30 seconds of real effort. The return on investment is about as high as anything I do for camping prep.
If you genuinely cannot pre-chill the night before, at minimum pull the cooler out of a hot car or garage and set it somewhere shaded and cool for two to three hours before you start packing. Warm plastic walls are the enemy. Even a partial pre-chill beats nothing.
Step 2: Use Block Ice on the Bottom, Crushed Ice on Top
Not all ice is equal when it comes to cooler performance. Crushed ice chills things fast because of all the surface contact, but it has a large surface area exposed to warm air, so it melts quickly. Block ice melts much more slowly because less of its mass is touching warm air at any given moment. The strategy that consistently works best is a combination: block ice on the bottom of the Coleman, food packed in the middle layer, and crushed or cubed ice packed tightly around and over the food on top.
I buy block ice from a grocery store when I can. Grocery store blocks tend to be denser than the bags sold at gas stations, which often have a lot of air gaps between smaller irregular pieces. If I am going out for more than three days, I also freeze three or four 32-ounce Nalgene bottles full of water at home and bury those in the cooler alongside my block ice. They serve as supplemental block ice for the first two days and then become cold drinking water once they thaw. Costs nothing extra and takes zero space I was not already using.
One thing I never do: drain the meltwater until I absolutely have to. Cold water sitting around your food is actively maintaining temperature. A lot of people have an instinct to dump all the slush out, but that cold liquid is insulating your food. I only drain when the water level gets high enough to soak through dry food packaging or when I need the space to reorganize.
Step 3: Pack Food Cold, Not Room Temperature
This one sounds obvious, but most campers violate it on nearly every trip. They swing by the grocery store, throw fresh steaks directly into the cooler from the store bag, and then wonder why the ice is gone by the following morning. Warm food is a heat bomb. Every item you put in at 50 degrees above the target cooler temperature forces your ice to work overtime just to bring it down before it can start maintaining it.
My rule is simple: everything going into the cooler spends at least 24 hours in my home refrigerator or freezer first. Meats go into the freezer, not just the fridge. Frozen meat acts as supplemental ice as it thaws slowly over the first day or two of the trip, and it arrives at the Coleman at a much lower starting temperature than fridge-cold meat. Beverages go into the fridge the night before. I also run a separate small soft cooler just for drinks so I am not cracking open the main Coleman every 20 minutes and dumping warm air in for a Coke.
Every time you open the cooler lid, cold air falls out and warm air rushes in. A dedicated drink cooler cut my main cooler's ice consumption by close to a third on longer summer trips.
Zip-lock everything that can hold moisture. Wet cardboard is a surprisingly effective insulator working against you: it traps warm air right next to your food. Sealed bags keep things dry and make repacking much cleaner. I double-bag all raw meat in heavy freezer bags so any leakage stays contained and does not end up contaminating produce or contaminating the ice melt.
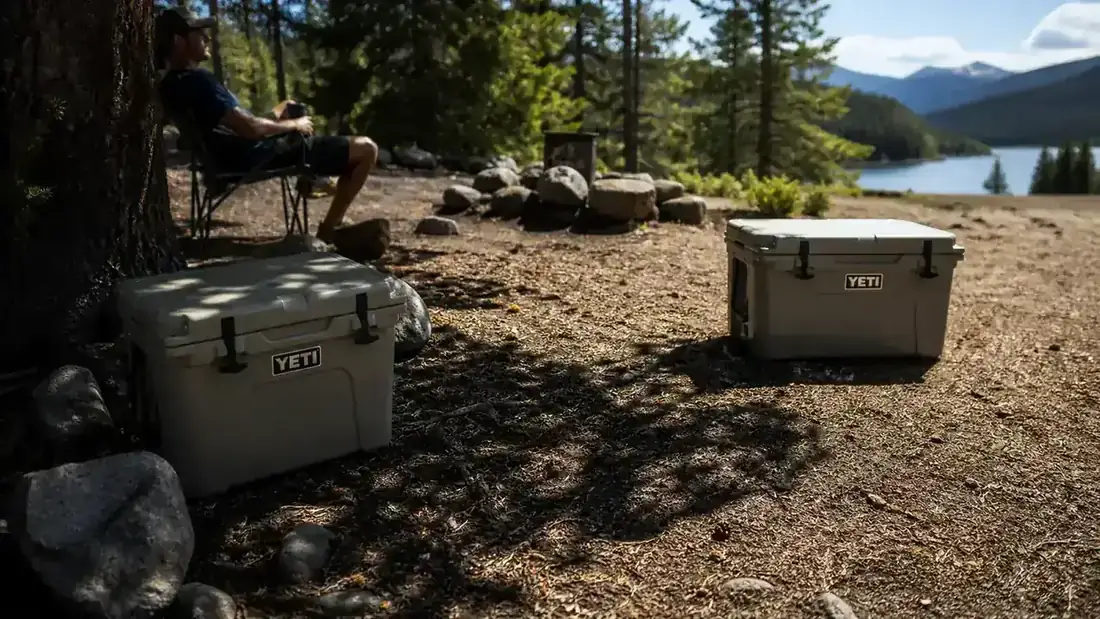
Step 4: Keep the Cooler in Shade and Off the Ground
Where you put your cooler at camp matters more than most people think. A cooler sitting in direct afternoon sun in Colorado during July is fighting a losing battle regardless of insulation quality. The Coleman Classic has solid wall thickness for its price category, but it is not a $400 premium cooler with three-inch foam walls. You need to help it by removing the biggest external heat sources you can control.
I keep my Coleman in the shade of a tarp or under a large tree canopy during peak sun hours, which in the Rockies runs roughly 10 a.m. to 4 p.m. I also set it on a folding camp table or on a couple of pieces of scrap wood rather than directly on the ground. Hot, sun-baked ground in summer conducts heat up through the cooler's plastic base faster than you would expect. Even a two-inch air gap between the cooler bottom and the ground makes a measurable difference over a multi-day trip.
If your campsite parking is right next to your site, sometimes putting the cooler in the shaded car interior is smarter than leaving it in direct sun outdoors. A car in shade is often cooler than ambient outdoor air on a sunny afternoon. Just do not put it in a car that is baking in an exposed lot with no shade. That is worse by far than outdoor shade.
Step 5: Minimize How Often You Open the Lid
The most underestimated ice killer on any group camping trip is lid-opening frequency. Every time someone lifts that lid, cold dense air falls out the bottom of the opening and warm air rushes in from the top. If you have four people at camp all grabbing snacks and drinks independently whenever they feel like it, the Coleman is working constantly just compensating for that repeated air exchange. It adds up fast.
My system is to do a single organized morning open when I pull out everything needed for breakfast, then a single evening open for dinner prep. I tell everyone at camp what is packed and where it is located so nobody is rooting around with the lid open for two minutes trying to find one item. I also place a folded small towel or a piece of closed-cell foam on top of the food inside the cooler as an interior insulating layer. That material sits between the food and the lid, so when you do open the cooler, less cold escapes in the first few seconds.
One more thing worth checking before every trip: the drain plug. The Coleman Classic has a drain plug in the bottom right corner of the cooler. Keep it firmly closed unless you are actively draining water on purpose. I have seen people leave that plug cracked open without noticing, then scratch their heads when the ice is gone in a few hours. All the meltwater drains out, the cooler loses its thermal mass, and temperatures rise fast. I check that plug every single time I pack.
What Else Helps
Beyond the five core steps, a few additional habits pay off on longer trips. Dry ice is worth considering if you need five-plus days in serious heat. It holds temperatures well below freezing, which is especially useful for raw meat and dairy. Always handle dry ice with insulated gloves, and vent the cooler slightly so CO2 does not build up under the lid. The Coleman Classic is not a dedicated dry-ice cooler, so I limit it to a few pounds layered under regular ice, never placed directly against food.
A small clip-on cooler thermometer is cheap and useful. A stick-on dial thermometer inside the lid tells you whether you are holding below 40 degrees without opening the cooler to check. I paid about four dollars for mine at a hardware store and it has been on every camping trip since. If the needle creeps above 40, I know it is time to add ice or reorganize before food safety becomes a concern.
The type of cooler you start with also sets the ceiling on what these habits can accomplish. A thin-walled discount cooler will max out around two days no matter what you do. The Coleman Classic's insulation is genuinely respectable for the price, which is why most of the steps above produce the results they do. If you want a deeper look at how it performs across a full season of hard camping use, the long-term review covers everything including the one design feature I would change. If you are still deciding between a hard-shell cooler and a soft cooler for campsite use, the comparison piece covers why hard coolers consistently win that argument.
See also: Coleman Classic Cooler Review: 62 Quarts of Camping Ice Chest Tested Hard and 10 Reasons a Hard Cooler Beats a Soft Cooler for Camping.
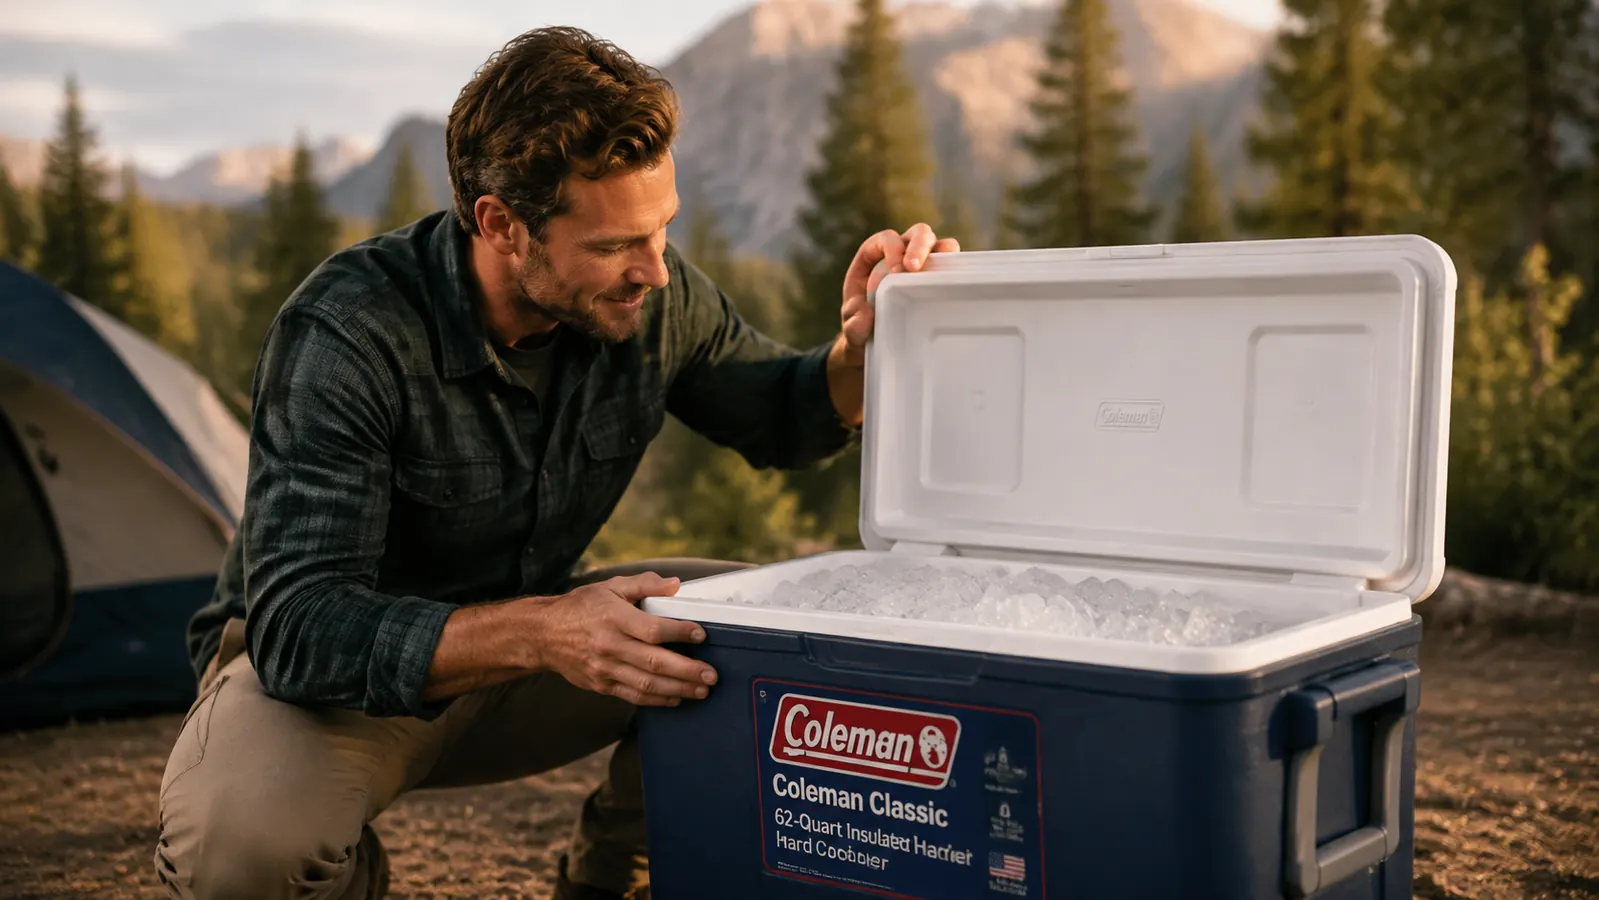
If your cooler is running out of ice before the trip is over, the problem is the habits around it. But the Coleman Classic 62qt gives you a solid foundation to work from.
The Coleman Classic 62qt is what Marcus packs on every trip from late spring through fall. Good insulation, a reliable drain, 62 quarts of space, and a price that makes sense for how often you will use it. Check the current Amazon price and read through the most recent buyer reviews before your next trip.
Amazon Check Today's Price on Amazon →